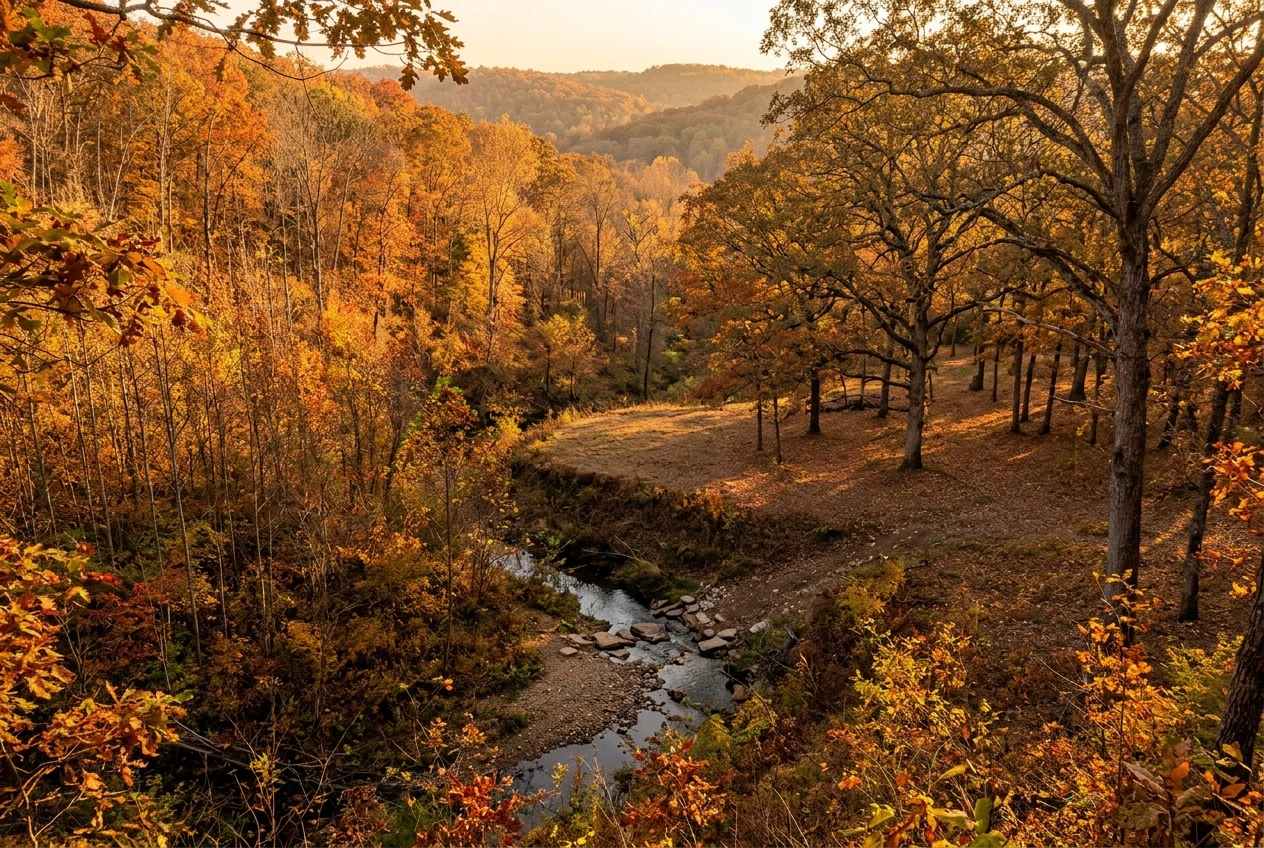
You have a license, or you are about to get one, and no land to hunt. Public ground solves that, but it is open to everyone, so you need a method to find a piece that holds deer and fits the way you hunt. The sequence is simple: find legal ground through your state wildlife agency, narrow the list on a map, walk the best candidates before the season, and pick a spot with a way in and a way out.
This guide follows that order so each step feeds the next. Everything here is general, and your state’s rules decide what you can actually do, so treat the agency’s current regulations as the final word on any point where they differ from what you read here.
Start With Your State Wildlife Agency, Not a Random Map
Your state fish and wildlife agency (the name varies: Department of Natural Resources, Game and Fish, Wildlife Resources) is the source of record for where you can hunt. It manages or lists the wildlife management areas, state forests and access programs in your state, and it publishes the rules for each one. A mapping app can show you a boundary, but only the agency can tell you whether a piece of ground is open to deer hunting this season.
Search for your state’s name plus “public hunting land” or “wildlife management areas.” Most agencies have a searchable map or a list by county, and many offer a downloadable PDF for each area. Those documents usually cover:
- The area’s boundaries and where the designated parking lots are
- Which weapons are allowed (some areas are archery only, shotgun only, or have restricted firearm zones)
- Whether you need a permit, a draw, or a daily check-in
- Rules on tree stands, blinds, camping and vehicle access
- Season dates that differ from the statewide framework
Download or save the document for every area you consider. You will refer to it again when you pick a spot.
It is also worth calling or emailing the regional office. Agency staff, including biologists and conservation officers, get asked which areas are busy, which are quiet, and where access has changed. They will not name your stand site, but they can often tell you whether an area has a healthy deer population or recently had a habitat project, a timber cut, or a road closure.
The Kinds of Public Land You Can Hunt, and the Rules That Come With Each
“Public land” covers several different types of ground, and each has its own rules. Knowing which type you are looking at saves you from planning a hunt on ground where your method is not allowed.
State wildlife management areas and state game lands. These are bought and managed mainly for wildlife and hunting, so they are often the most straightforward place to start. They tend to have clear parking areas and published regulations. They can also see the most hunter traffic, especially near roads.
State forests. Hunting is usually allowed, but the land is also used for hiking, camping and timber harvest. Check for seasonal closures and any rules about stands and camping.
National forests. These are managed by the U.S. Forest Service and are generally open to hunting under state game laws, with additional federal rules on things like vehicles, camping and building structures. Large tracts give you room to get away from the roads.
Bureau of Land Management land. This is mostly in western states. It is often open to hunting, and access can be the harder part, since some parcels are surrounded by private property with no public road leading in.
National wildlife refuges and Army Corps of Engineers lands. Some allow deer hunting, often with their own permits, specific hunt dates or weapon limits. Others do not allow it at all, so confirm before you plan anything.
Walk-in or public access programs. Some states lease private land and open it to the public for hunting. These programs have their own maps and sign-in rules, and the land is sometimes less pressured than a large public area.
County and municipal parks. Most are closed to hunting. A few run managed hunts by application. Never assume a park is open because it is public.
Two rules matter in nearly every state and are easy to overlook. Many public areas prohibit nails, screws or steel spikes in trees, and many require you to remove a stand or blind at the end of each day. Check both before you buy any equipment for the spot.
Using onX, HuntStand or Free Mapping Tools to Narrow Down Parcels
Once you know the types of land in your state, a mapping app helps you sort a long list into a short one. onX Hunt and HuntStand are two popular hunting apps. Both show public land boundaries over aerial imagery, let you drop pins, and work offline once you download a map area. The paid tiers add features, and what is included can change, so check the current plan details before you subscribe.
Free tools can do much of the same job. Google Earth gives you aerial imagery and a way to measure distance. Many state agencies run their own interactive maps, and county websites often have parcel viewers that show property lines and owner names. Use a combination if you do not want to pay yet.
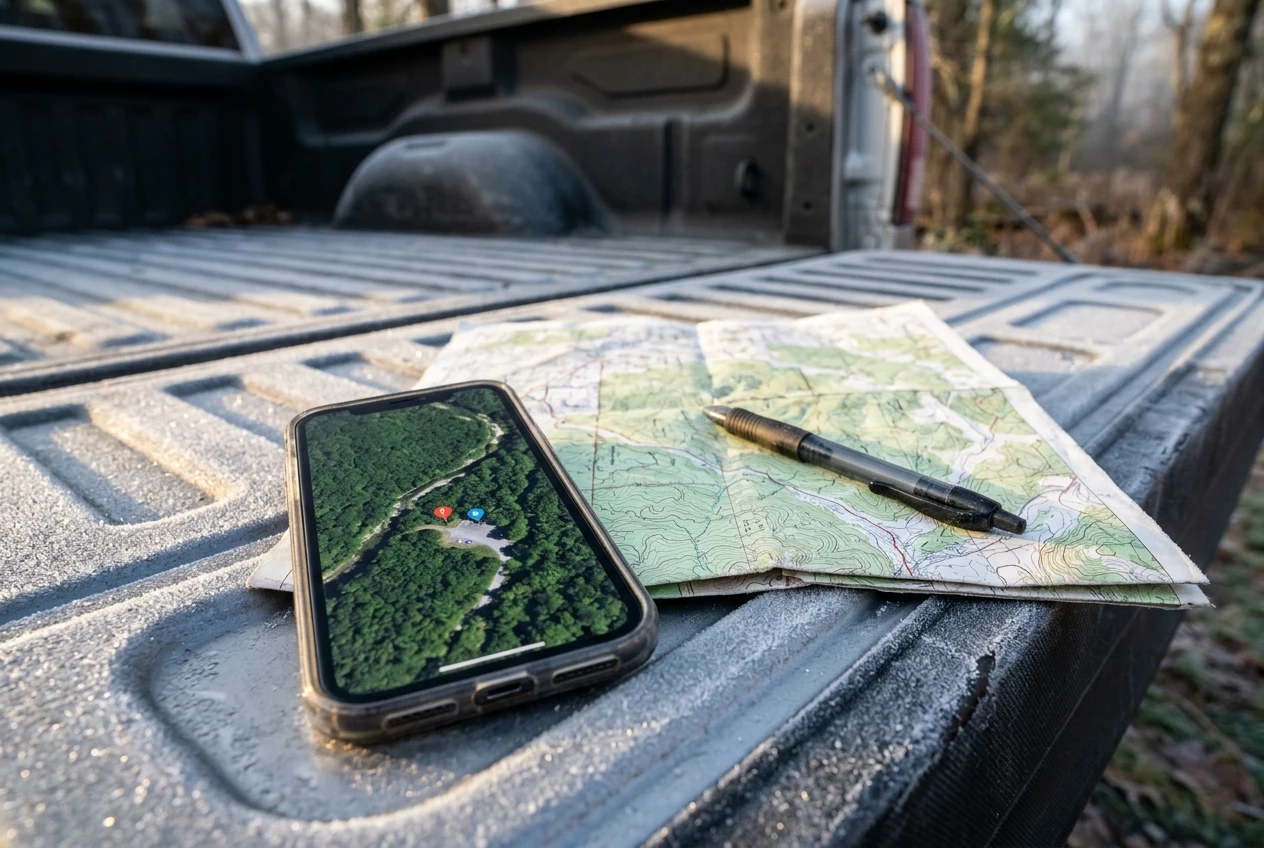
A practical way to narrow down parcels:
- Turn on the public land layer and look at everything within a drive you are willing to make on a pre-dawn morning, with a gear pack and possibly a deer to drag out.
- Pick three to five parcels that look promising based on size, shape and access.
- Check each one against the agency’s page for the area. Confirm it is open to deer hunting and that your weapon is legal there.
- Find the legal access points. A parcel with no public road or easement leading to it is not usable, even if it looks excellent on the screen.
- Drop pins on parking areas, trailheads and any gates.
Treat app boundaries as approximate. Lines can be off by some distance, and the data is only as current as its last update. On the ground, use posted signs, boundary markers and a GPS location that shows your position on the map, and stay well inside the line if you are not sure.
Read the Map First: Cover, Edges, Water and Pressure Points
Before you travel anywhere, spend an evening with the map and look for the same few things on each parcel. Deer need food, water, bedding cover and a way to move between them that feels safe. The map shows you where those are likely to meet.
Cover. On aerial imagery, thick, dark areas are usually dense timber or brush where deer can bed. Younger forest, regrowth after a timber cut and overgrown clearings often hold deer because they provide both cover and browse. Check the date on the imagery, since cover changes over time.
Edges. Deer travel along the edges where two kinds of cover meet: thick woods against open timber, forest against a field, a cutover against mature forest. Edges give them food nearby and cover to step back into.
Water. Creeks, ponds, seeps and drainages matter, and creek crossings often funnel movement. Water also shapes the terrain, creating the draws and bottoms that deer use as travel routes.
Terrain features. Topographic lines show benches (flat shelves on a hillside), saddles (low spots between two high points) and the points of ridges. Deer often use these when moving through hilly ground because they offer an easier route.
Pressure points. Most hunters walk a short distance from the parking lot and stop. Deer on public land respond by using the parts of the property that are harder to reach: across a creek, over a ridge, or in thick cover most people will not push through. Look for ground a good distance from parking and roads that is still reachable on foot. Also look at where the roads and trails are, because those are the routes other hunters will use.
Mark three or four spots on each parcel where several of these overlap, such as a bench above a creek crossing near the edge of a regrowth stand. Those are the places to walk first.
Boots-On-the-Ground Scouting: What to Look For and What to Skip
A map suggests where deer might be. Walking the ground tells you where they are. Plan at least one trip to each short-listed parcel, and more for your top choice.
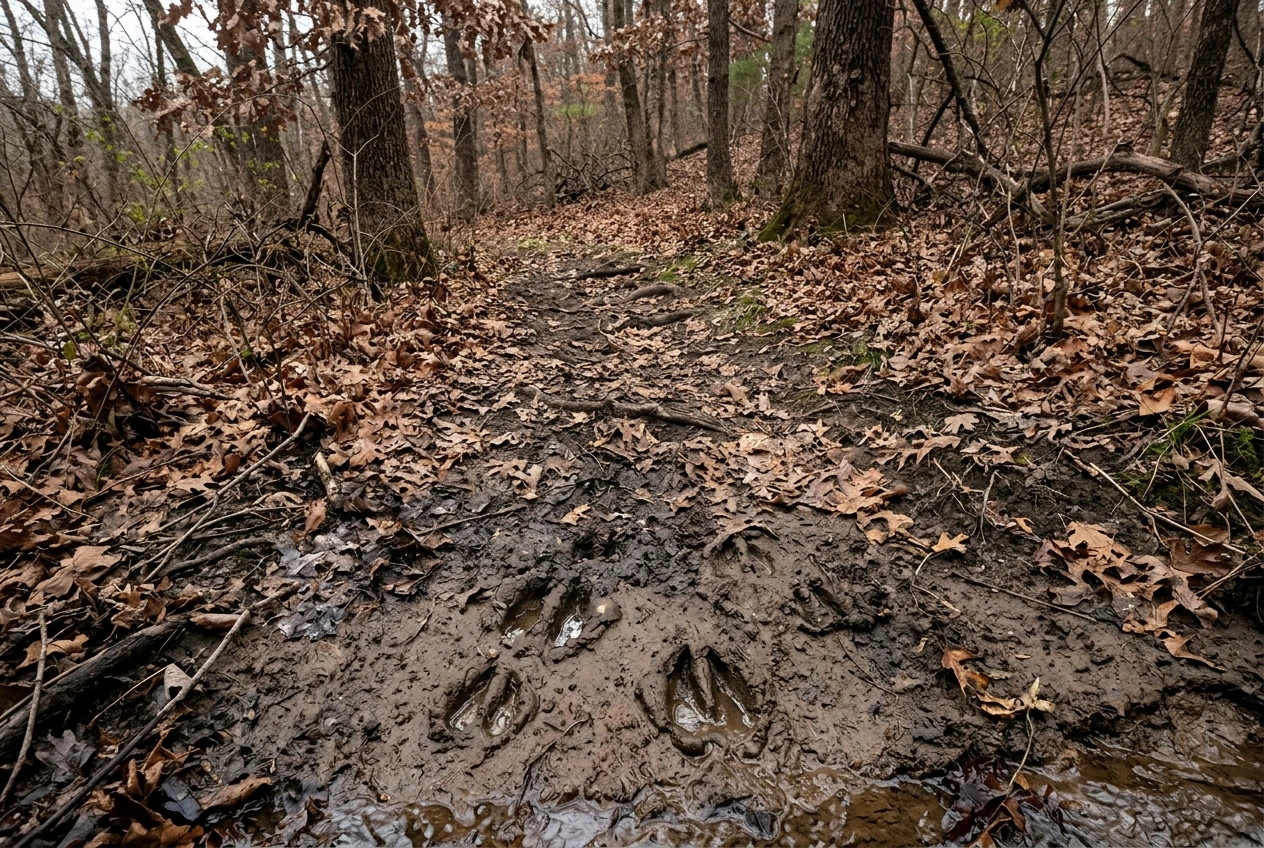
What to look for:
- Trails. Worn paths through cover, especially ones that cross a creek, run along an edge or cut over a saddle. A trail that is packed down and clear of fallen leaves and branches is in regular use.
- Tracks. Look in mud, along creek banks and in soft dirt. Tracks in different sizes suggest more than one deer using the spot.
- Droppings. Fresh droppings are dark and moist. Old ones are dry and pale. A pile in a bedding area or beside a food source is a good sign.
- Beds. Oval patches of flattened leaves or grass, often under cover with a view downhill or downwind.
- Food. Oak trees dropping acorns, browse such as young shoots and leaves with torn tips, and crop fields nearby. Deer concentrate on whatever is available in the weeks before the season, so look for fresh feeding signs.
- Rubs and scrapes. Trees with bark scraped off at knee to waist height, and patches of bare dirt under low branches. These show that bucks are in the area.
What to skip:
- Chasing one big rub. A single rub tells you a buck walked by once. Look for patterns, such as several rubs along the same line of travel.
- Walking everywhere. Covering the whole property disturbs deer and teaches you little. Focus on the spots you marked from the map.
- Judging a spot by how it looks from the road. Many good areas look unremarkable from the edge.
- Setting up trail cameras without checking rules. Some areas restrict or prohibit them, and cameras left on public land can be stolen.
Carry your phone or GPS and record waypoints as you go, with a short note on what you saw at each one. Fresh sign beats old sign, so note whether tracks and droppings look recent. If your season has already opened, keep the same approach but wear the blaze orange your state requires and avoid areas where other hunters are likely to be sitting.
How to Scout Without Spooking Deer or Crowding Other Hunters
Scouting too hard can ruin a spot before you hunt it. Deer on public land are used to some human presence, but repeated walks through their bedding areas teach them to move elsewhere or turn nocturnal.
To keep your impact low:
- Walk the edges, not the middle. Avoid pushing through thick bedding cover. Look at it from the outside and note where the trails lead in and out.
- Mind the wind. Move so the wind carries your scent away from where you expect deer to be, rather than toward them.
- Pick your timing. Midday is a good time to walk, since deer are usually bedded and not feeding or traveling. Avoid walking food sources and travel routes at dawn and dusk, when deer are using them.
- Limit your visits. A few well-planned trips beat many casual ones. Once you have your answers, stay out.
- Do not leave a mess. Check whether flagging tape or markers are allowed. Some areas prohibit them, and they can lead other hunters to your spot. A GPS track and waypoints do the same job without leaving anything behind.
Other hunters are part of the terrain on public land, and treating them well keeps the experience better for everyone. Park in designated areas and do not block gates. If you find a stand, a blind or a vehicle at a spot you wanted, leave it to them and move to another. Putting yourself within sight or earshot of another hunter is bad manners and can be unsafe. Weekends and the days around opening day are the busiest, so scout on weekdays when you can and expect more company in the first few days of the season.
Pick Your Spot, Plan Your Way In and Out, and Have a Backup
By now you should have a few candidate spots with real sign behind them. To choose among them, look for the one where fresh sign, good cover and a workable approach all come together.
Ask these questions of each spot:
- Is there fresh sign nearby? Recent tracks, droppings or feeding, ideally along a trail that connects bedding and food.
- Can I get there quietly? Choose a route that does not cross bedding cover or the trail deer will use.
- Can I leave without disturbing the area? You will exit in the dark or at midday, possibly carrying a deer, so check that the way out is clear.
- What does the wind do here? Note the prevailing wind direction and which winds would carry your scent toward the trail. A spot that only works on one wind needs a backup for the others.
- What equipment is allowed? If the area bans nails in trees, plan around a climbing stand, a saddle setup or a ground blind that the rules allow. If it requires removal each day, be ready to carry your equipment out.
Plan your route on the map and walk it once in daylight. Note landmarks, creek crossings and any spot where it is easy to get turned around. Save the route in your app so you can follow it in the dark with a headlamp.
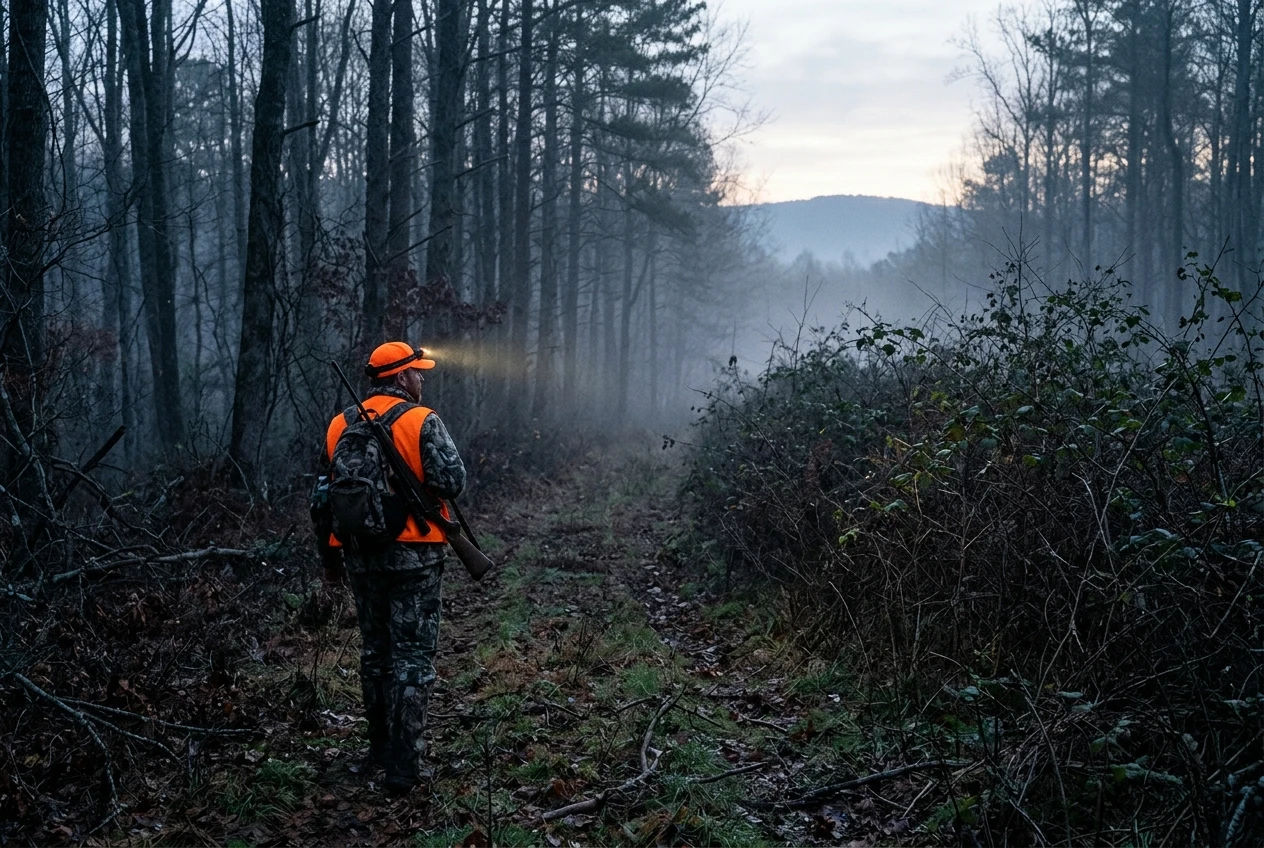
Have at least two backup spots. Wind shifts, another hunter may arrive first, or the sign may dry up by the time the season starts. If your first choice is taken, you should be able to walk to the next one without improvising. Tell someone where you are going and when you expect to be back, since cell service on large public tracts can be unreliable.
A Simple Scouting Checklist for the Weeks Before Opening Day
Use this list to keep your preparation in order.
- Read the regulations and the area brochure for each parcel you are considering.
- Confirm that each parcel is open to deer hunting with your weapon, and note any permit, draw or check-in requirement.
- Mark legal access points and parking areas on your map.
- Shortlist three to five parcels and mark three or four spots on each from the map.
- Walk your top parcels once or twice, midday and with the wind in your favor.
- Record waypoints for trails, beds, feeding sign and crossings, with notes on how fresh each is.
- Choose one primary spot and two backups.
- Walk your route in and out in daylight and save it offline in your app.
- Check your stand or blind setup against the area’s rules.
- Confirm the opening date, legal shooting hours and any blaze orange requirement for your state.
- Share your plan with someone who is not going with you.
If you still need to sort out your equipment, the beginner deer hunting gear guide covers what is worth buying for a first season and what can wait.
Where to Go Next
Finding land is one step of a first season, and the first-season walkthrough shows how it fits alongside hunter education, gear, the hunt itself and getting the deer home. If you have not yet bought your tags or finished hunter education, start with how to get a deer hunting license before you head out to scout.