Where to place a tree stand for deer hunting comes down to three things, in this order: fresh deer sign, a wind and sun setup that lets you arrive and leave without being noticed, and a healthy, straight, living tree that holds the stand securely. Getting up and down safely means wearing a full-body harness from the moment you leave the truck, staying connected to the tree the whole way up and down, and hauling your firearm or bow after you are secured, never while you climb. This article walks through each piece for a first-season hunter who has never hung a stand.
Start With the Deer Sign, Not the Tree
A good-looking tree is useless if deer do not pass it. Before you think about trunk shape or branches, find the place deer actually use, then look for trees near it.
The sign that matters most for stand placement:
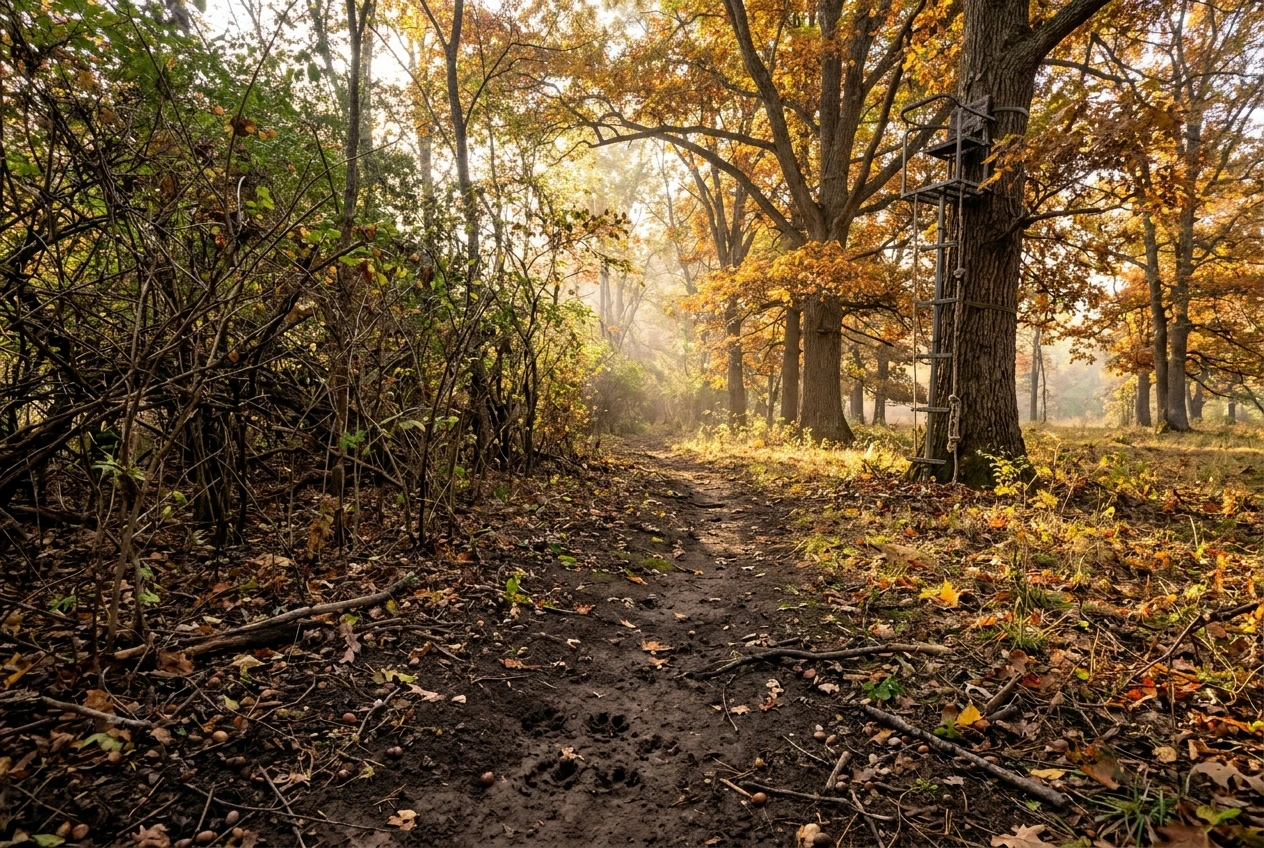
- Trails: Worn paths with fresh tracks, especially where several trails join or squeeze through a narrow gap between thick cover and open ground.
- Droppings and tracks: Fresh droppings are dark and moist, and sharp-edged tracks in soft ground tell you which way the deer were heading.
- Food: Oak flats with fallen acorns, field edges, orchards, and browsed twigs show where deer feed. Trails between food and thick cover are worth watching.
- Rubs and scrapes: Rubbed saplings and pawed-out patches of dirt show that bucks are passing through. They are a supporting clue, and a trail with steady tracks tells you more.
- Beds: Oval, pressed-down patches in thick cover or on slopes mean deer are resting close by. Hang your stand near beds, not on top of them.
If you have not scouted yet, how to find public land to hunt deer and scout it before opening day covers that part in full. Here the assumption is that you already know where the deer are moving and need to choose the exact tree.
Set the stand off the trail, not directly over it. A distance of roughly 20 to 30 yards from the trail you are watching is a workable starting point for many hunters, but the right number is the one that puts deer well inside the effective range of your weapon with a clear lane. If you are still deciding on a weapon, choosing the best weapon for beginner deer hunting will help, because a bow and a rifle call for very different distances.
Wind, Sun and Approach: Choosing a Spot You Can Reach Quietly
Deer smell far better than you see, and they notice noise and movement near their bedding and feeding areas. A stand with perfect sign around it can still fail if the way in sends your scent or footsteps straight to the deer.
Wind
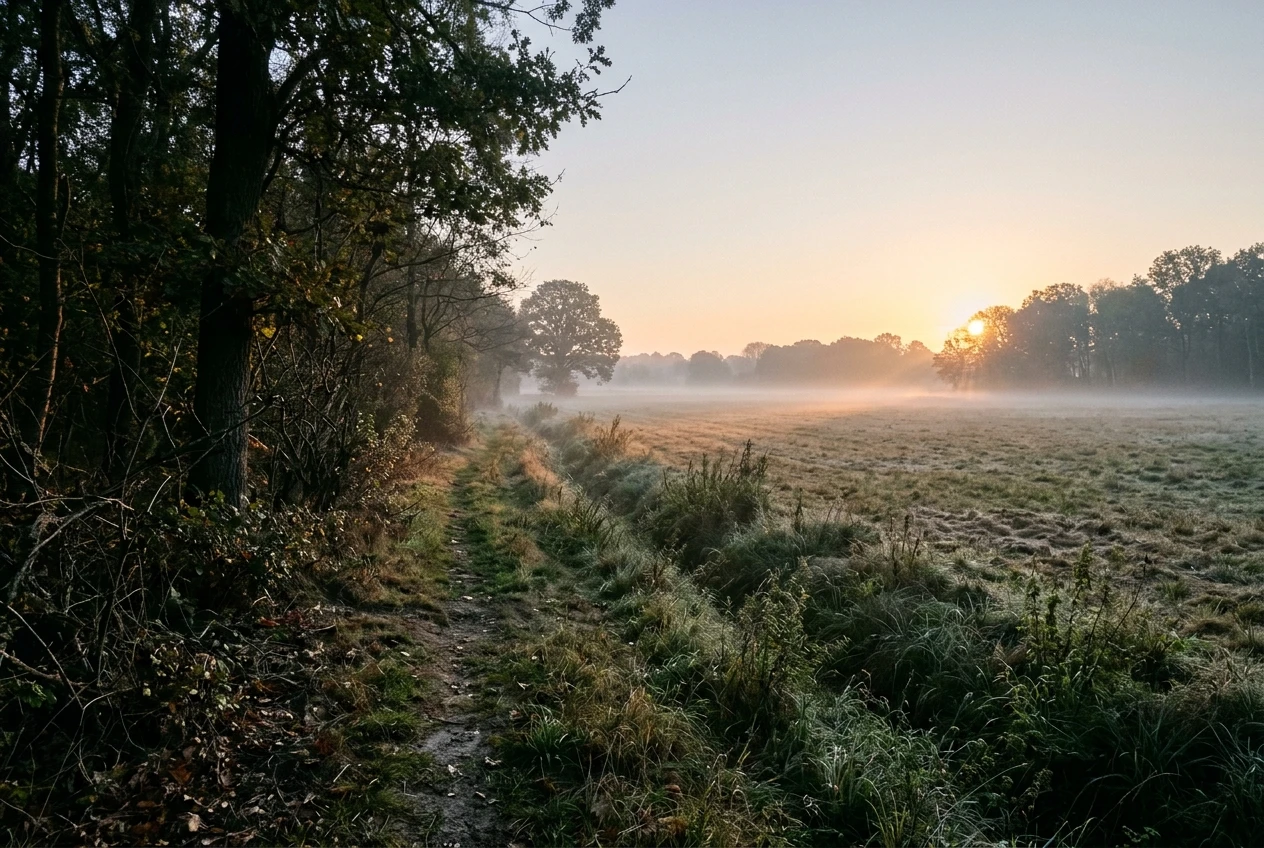
Pick a tree where the wind blows from the deer’s expected path toward you only rarely, or better, blows across or away from where they will come from. Wind direction changes through the day and from day to day, so a single tree rarely works in every wind. Many hunters hang more than one stand on the same property for that reason, and sit whichever one suits the forecast. For your first season, one well-chosen stand and the discipline to skip it when the wind is wrong is a perfectly good plan.
Check the wind before you leave the house, and again at the base of the tree. A pinch of powder, a light feather, or a simple wind-checker bottle shows the air drift even when you cannot feel it.
Sun
Look at where the sun will be during the hours you plan to sit. A morning stand that faces east puts the rising sun in your eyes and makes you easy to see, since the deer see your outline while you cannot see them. In the same way, an afternoon stand facing west gives you glare. Where you can, set the tree so the sun is behind or beside you, and the trunk and branches break up your outline.
Approach and exit
Walk the route you will take to the tree before you hang anything, preferably in daylight. Ask three questions:
- Does the path cross a bedding area, a feeding area, or the trail deer will use? If so, find a different route.
- Can you walk it quietly, or is it full of dry leaves, crunchy brush, or creek crossings?
- Can you leave after dark or at midday without pushing deer out ahead of you?
An approach along a ditch, a field edge, or a downwind side of the property often works better than the shortest line from the road. A slightly farther tree with a quiet approach beats a perfect tree you can only reach by walking through the deer.
What Makes a Tree Safe to Hang a Stand In
The tree holds your whole weight, and any weakness in it becomes your problem at height. Check these before you commit.
It is alive and healthy. Look for a full canopy in season, firm bark, and no large dead limbs. Avoid trees with peeling or loose bark, fungus growing from the trunk, hollow sounds when you knock on them, or deep splits and cracks. Dead or dying trees can snap or shed their wood without warning.
It is straight and sturdy. The trunk should be fairly straight at the height where the stand goes, free of big branches that block a flat mounting surface, and not so crooked that the stand tips. Check the stand’s instructions for the range of trunk widths it fits. A trunk that is too thin or too thick will not allow a secure attachment.
It has a clear space overhead. Look up for dead branches hanging in the canopy above where you will sit or climb. These are sometimes called widowmakers because a wind gust can drop them on whoever is below.
It is not leaning toward the shooting lane. A tree that leans slightly back or sits plumb is more comfortable and more stable. A heavy lean toward the front can make a stand tilt and strain the straps.
It meets the rules where you are hunting. Some public lands and private leases limit how you can attach a stand, ban screw-in steps that damage trees, set times when stands must be removed, or require your name and ID on the equipment. Check the rules for the property before you mount anything.
Then finish with the stand itself. Inspect straps, cables, welds, bolts, seat, and platform before each season, replace anything worn or frayed, and follow the manufacturer’s instructions and weight limits. Old straps left out in the weather lose strength even when they look fine.
How High Is High Enough for a First Stand
Higher is not automatically better. Height gives you a wider view and helps move your scent above deer, but it also raises the consequences of a fall and makes the climb longer and harder.
For a first stand, a moderate height is usually enough, often somewhere around 15 to 20 feet, but let the situation decide. The right height depends on the cover around you, how open the woods are, and the stand’s own rating. In thick brush a lower stand may leave you looking into branches, while in open hardwoods a lower stand can leave you easily seen.
Choose the lowest height at which you can see your lanes, stay hidden by the trunk and branches, and shoot comfortably. Never exceed the height or weight rating on the stand. Remember also that you are using a lifeline and harness at any height, so a lower stand never means you skip the safety gear.
Hang-On, Ladder or Climbing Stand: Which Fits a Beginner
Each type has trade-offs, and the right one depends on the trees you have and how you plan to carry things in.
Ladder stands have a built-in ladder and a seat, and they are the easiest to understand. They are heavy and awkward to carry and set up, and a ladder stand usually takes two people to raise. Once up, the stability and the ladder make climbing straightforward, which suits many first-timers.
Hang-on stands are a platform and seat that strap to the trunk, and you climb using separate sticks or steps. They are lighter and quieter and fit more kinds of trees. They also have more steps to get right, including attaching the sticks, installing the stand, and keeping yourself connected the whole time. They suit someone willing to practice at low height first.
Climbing stands let you carry a seat and platform and climb the tree yourself by working the two halves up the trunk. They need straight, branch-free trunks and take practice. They can be a good choice if you plan to move often, and a poor choice on a tree with limbs or a bend.
For most first-season hunters, a ladder stand set up with a helper, or a hang-on stand with a good climbing system learned at low height, is a sensible starting point. Whichever you choose, read the manual in full and practice installing and climbing a few feet off the ground before the season, in daylight, with a friend nearby.
Climbing Safely: Harness On at the Ground, Connected the Whole Way
Most serious tree stand accidents happen during climbing, getting in and out of the stand, and setting up, not while sitting. The routine below keeps you attached to the tree for every moment you are off the ground.
Use a full-body harness. A full-body harness spreads the force of a fall across your body and keeps you upright. A simple belt around the waist is not enough. Choose one that meets the standard stated by the stand’s maker or the industry, fits you snugly, and has not been damaged or used in a fall. Replace it if it has been in a fall, and check the straps and stitching each season.
Put it on at the truck. Dress, wear the harness, and adjust the straps before you walk in, so you never have to climb unprotected. Adjust the straps so the harness is snug but you can move your arms and legs.
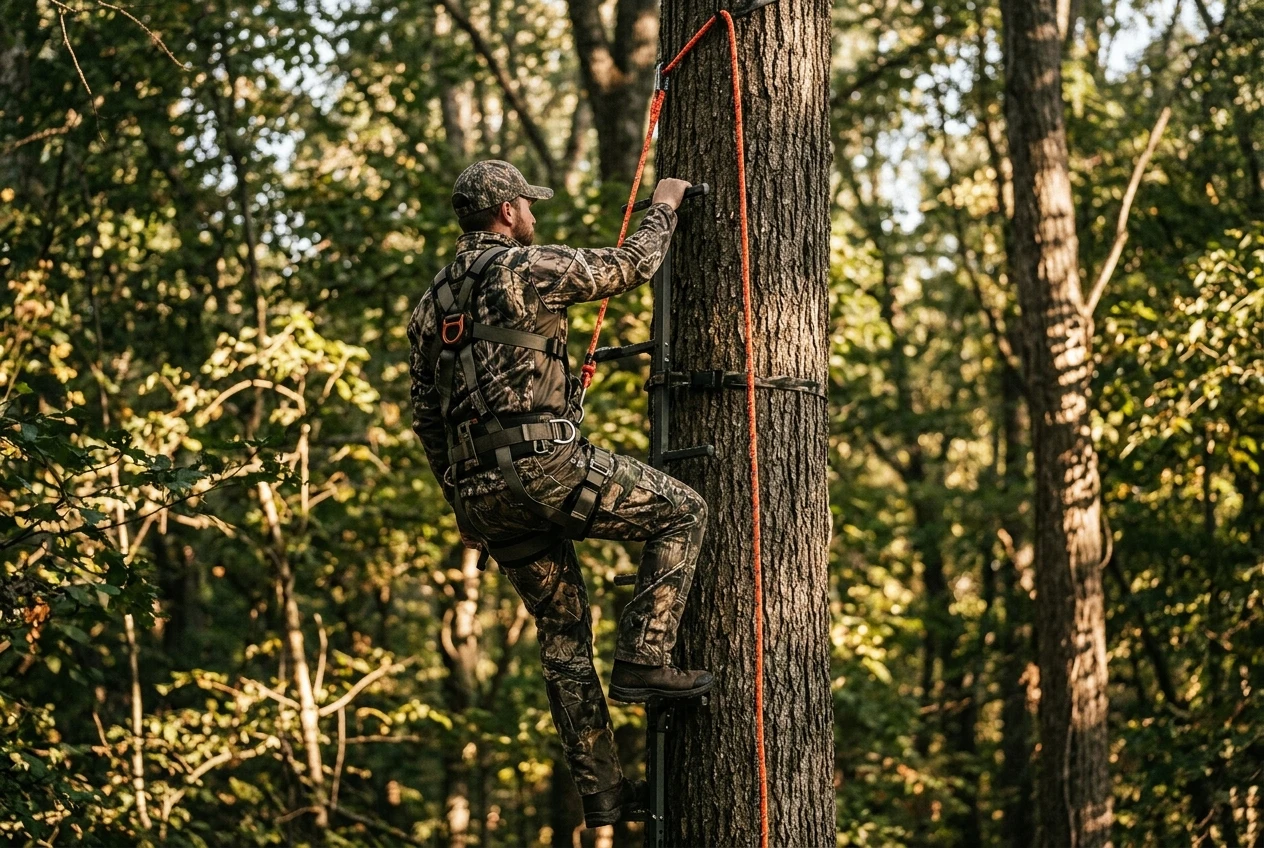
Connect before your feet leave the ground. A lifeline is a rope fastened to the tree above the stand, with a sliding knot or device on it that connects to your harness. It lets you stay connected from the bottom to the top. Where your stand’s system allows, set up the lifeline from the ground before you climb. If you are installing steps or sticks and a stand as you go, use a tether or a lineman’s rope and follow the manufacturer’s instructions so there is always a connection between you and the tree.
Keep three points of contact. Move one hand or one foot at a time, keeping the other three on the ladder or sticks. Climb slowly, wear boots with a good grip, and avoid climbing in wet, icy, or slippery conditions when you can.
Stay connected at the stand. Once you reach the platform, clip your tether to the tree at the right height before you turn around and sit. Turn carefully, check your footing, and then sit down. Stay clipped in while you are seated.
Know what to do if you fall. A harness stops the fall, but hanging motionless in it for a long time is dangerous. A suspension relief strap lets you take weight off the leg straps while you wait for help or climb back. Carry a charged phone and tell someone where you are hunting, which stand you are using, and when you plan to come back.
Coming down. Reverse the process. Unload the firearm or bow first and lower it on the rope. Stay clipped into the lifeline or tether, climb down with three points of contact, and only unclip when your feet are on the ground.
Hauling Your Gear Up Without Dropping Anything on Yourself
Your hands should stay free for climbing. A haul line is a simple rope, long enough to reach from the stand to the ground, that you use to pull gear up once you are secured.
How to use it:
- Attach the line to the stand, or to the tree near your platform, so it is within reach when you arrive.
- Climb with nothing in your hands. A small pack is fine if it is light and does not shift your balance, but anything long or heavy goes on the line.
- Firearms go up unloaded, with the action open and the muzzle pointing down or away from you. Tie the rope in a way that holds the firearm steady and keeps the muzzle from pointing at you or at the base of the tree.
- Bows go up with the arrows in a covered quiver, and the broadheads covered or separate. Never pull a nocked arrow up the tree.
- Check the ground below before you pull. If someone is helping, have them step clear while the gear moves.
- Load only when you are seated and clipped in, and follow the rules and safe handling you learned in hunter education. If you are not sure whether your state requires it, do you need hunter education to hunt deer explains how to find out.
When you leave, reverse the order: unload, secure the gear to the line, lower it, and then climb down yourself.
Before You Climb: A Quick Checklist to Run Every Time
Run through these at the base of the tree each time, even when the stand has been there for weeks. Weather, animals, and time change a stand.
- Harness on and adjusted at the ground, with no frayed or damaged straps.
- Lifeline or tether in place and connected before your feet leave the ground.
- Tree checked: alive, no new cracks, no loose or dead branches above.
- Straps, cables, bolts, and platform checked for wear, rust, or movement.
- Ladder, sticks, or steps firm and dry, with no slipping.
- Firearm unloaded or bow with arrows stowed, attached to the haul line.
- Phone charged, and someone told your stand location and return time.
- Boots clean of mud, and gloves or hands dry for a solid grip.
- Wind direction checked against your approach and the stand.
- Suspension relief strap and a whistle in an easy-to-reach pocket.
If any item fails, fix it or go home. A missed sit costs you a morning, and a fall can cost far more.
Pair this with the safety harness and tree stand reviews on the site, and read the gear list for the rest of what a first season needs.